So it’s been, what, six months since I concocted my homemade television sets. Since then I’ve missed nothing that I would have liked to watch, and have watched much that was not available via the usual, um, channels. And I have maintained my privacy.
Television makers and program packagers exist just about solely to steal more information about you than you probably think is possible. If you don’t believe me, read the terms and conditions of your “smart” television or any of the streaming services to which you subscribe. While you’re at it, read this, published Monday. You will probably be enraged, as I was.
Therefore, time has come for me to offer a recipe to improve television by essentially building your own. It is fun, not very expensive, requires next to no technical skills, and gives you a sense of freedom that will surprise you.
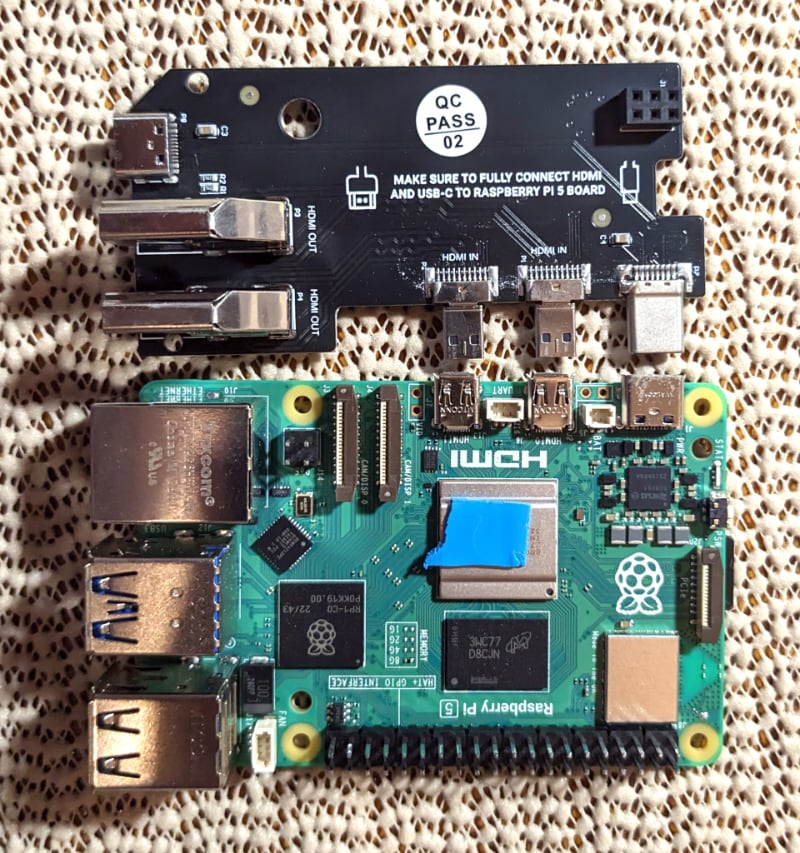
For our project we begin with a tiny computer. There are many available, some better than others. For this project we’ll use a Raspberry Pi 5. It is not necessarily the best or the cheapest, but Raspberry is well established and well supported and not very expensive. We’ll also need the official power supply, because it is reliable. Not all others are.
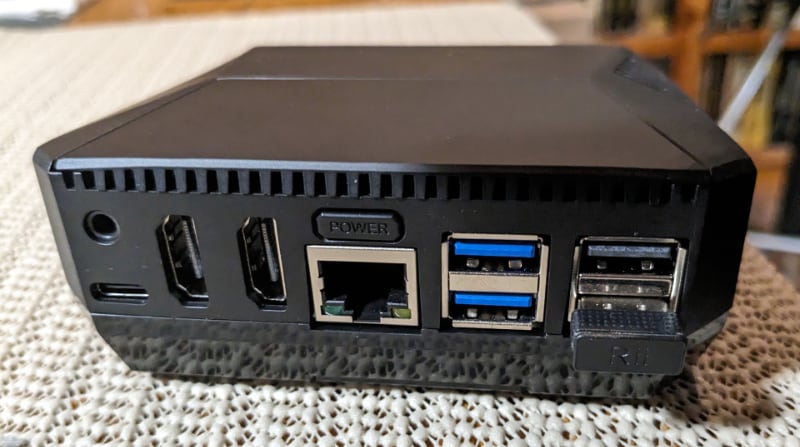
We will also need a case, and for what we’re up to there is really only one that qualifies. It is the Argon ONE V3 M.2 NVME PCIe. Yes, it costs $50. You can get a decent case for $15. But added to that $15 is another $15 for a reliable cooler, and another $15 for a card — a “HAT,” for “hardware attached on top” — to hold your PCIe sold-state drive, unless you want to run forever from a micro-SD card, which you don’t. So even the cheap solution is $45, and the Argon case does much more for you, such as converting the dinky micro-HDMI ports to full size ones and putting all the ports on the back, where they belong. Given what it does, it’s a bargain.
Absolutely necessary is a micro-SD card. I’d recommend getting a good one from a reputable maker, which doesn’t necessarily mean the most expensive one. The price sweet spot currently seems to be those that hold 256 gigabytes. A 256 is good because once you’ve used it to install the operating system on your RPi 5, it is probably going to be big enough for a system backup even after you’ve added applications.
You will also want a good stick-of-gum SSD. These are officially M.2 NVMe PCIe drives. It is important the the one you get is labeled with all these things. I use the Samsung SSD 980 NVMe M.2 SSD, 1 terabyte in size, for several reasons. The first is that it’s from South Korea, not China. (Unfortunately, just about everything else we’ll talk about here is Chinese.) One terabyte is the current price sweet spot, and it is good even though nothing close to 1Tb will ever live there. Christopher Barnatt explains why having more drive than data leads to long drive life here.
There are also cables and other stuff that you might already have, or can get inexpensively. A small Phillips screwdriver is necessary, and tweezers are helpful. The screws involved are small. A good magnifying glass is helpful.
I could try to explain putting it all together here, and the pictures show some of it, but it will be easier on you if I turn again to Christopher Barnatt. His video is for a largely identical case, though made for a Raspberry Pi 4 and employing a slightly different SSD, a SATA M.2 drive, but the instructions are pretty much the same. Any differences — they are very few — are explained in the very good though very tiny instruction manual that comes with the case.

It took me well under an hour to put it together, but it is fiddly in places, four that I can think of. The first is installing the tiny flat cable that attaches the SSD board to the PCIe connection on the RPi5. The connectors must be opened slowly and carefully without applying too much force. They are easily broken, and if one is there is no way I know of fixing it. The little cable must bottom out in the fittings. If you’re gentle, you’ll feel it. Then the same delicacy must be employed in closing the connectors.
The second place is when fitting the RPi5 to the daughterboard, which does much of the case’s magic. Three small connectors must go together precisely and at the same time. It must not be forced, but firm pressure is needed to seat them fully.
The third is when you fit the mother-daughter board, now joined, into the case. There are two places where the pins must line up precisely. It can be done, but you need to be deliberate and careful about it, and don’t press down until you’re sure the pins are all lined up correctly. (The Doctor Who term is jiggery-pokery.)
Finally, the case must be fitted together just so. The power at one point comes through two spring-loaded gold pins, and unless the case is connected together perfectly no contact is made. I have seen people complaining that the power switch doesn’t work, and I think they believed the top and bottom of the case were joined together correctly when they weren’t, not quite. This happened to me, but I loosened the screws and juggled it together and all was then well. (Or they might have accidentally connected only three of the six power pins — I almost did that, too, and unless you are checking very carefully it’s possible to think you got it right when you didn’t.)
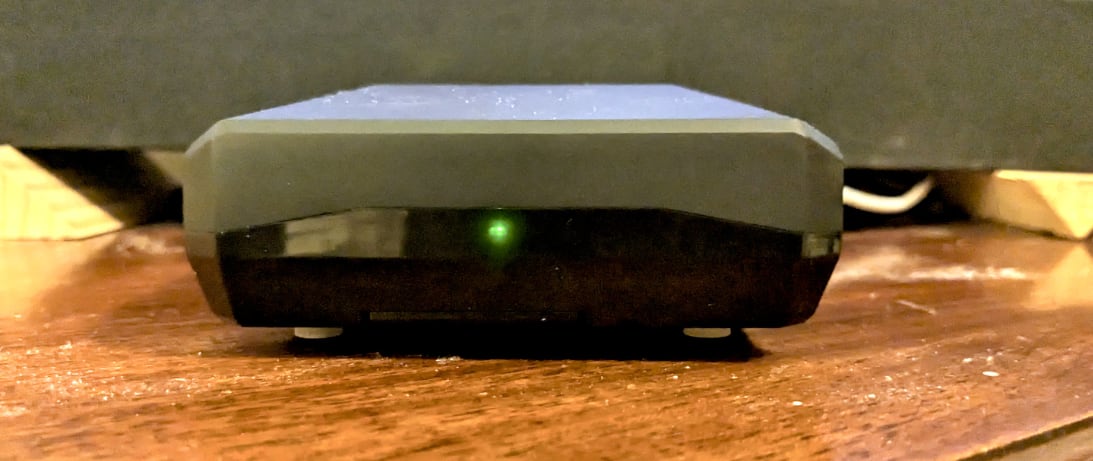
But with a little care it goes together well and soon you have built a quite powerful small computer. You can, yes, even do desktop computing with it if you wanted.
Now it’s time to make it compute. I’m making it seem a lot more complicated than it is. The next part will seem so, too, but it truly is easy.
We begin by downloading and installing Raspberry Pi OS to a micro-SD card, using the instructions you’ll find here. Then, using a USB SD reader, boot the new little machine. After the usual setting of username and password and so on, you’ll see the desktop. On the extreme left at the top, above the picture of the Asian man fishing using cormorants, there is a menu icon. Here you can select “Accessories,” and from the submenu “SD Card Copier.” Copy the SD card’s contents to your NVMe SSD. Shut down, remove the SD card reader, and restart.
A very important thing to do now, especially because we’re making something that will function as a television: Open the console application and type “sudo raspi-config.” You’ll get a nice text-mode console window with a configuration application. Navigating with your keyboard — yes, you need a keyboard — select “6 Advanced Options,” then “A6 Wayland,” and finally “W1 X11.” (Wayland is a new, experimental way of handling graphics. Its design is elegant, but in my estimation it doesn’t work yet and shouldn’t be the default. Fun for experimenters but very unpleasant for those who just want to use the thing.) After choosing X11 and clicking OK, go back and on the first page and click “Finish.”
You now have a small, fast computer running Debian Linux reliably. I could go on for a few hundred pages about this, but it’s best to learn about it at your own pace. There is little in the world so well documented.
The machine is plugged into a screen of some sort — you couldn’t have done the boot and settings otherwise. Now, if you want, you can plug it into your television, or a different monitor. For this project I used a cheap (well, $160) 32-inch monitor from the local Walmart. It looks great.
But what about sound? Monitor speakers are notoriously awful. If your TV is connected to your hifi, chances are the HDMI cable will take care of everything and you listen the way you’d listen to regular broadcasts. In my experiment, after some hellish experimentation I settled on a small soundbar I had, connected to the computer by a cable with a USB connection at one end, a DAC — a digital-analog converter — in the middle, and an optical S/PDIF connector that plugs into the soundbar. This was not strictly necessary, because just about all soundbars have Bluetooth, as does the RPi5, but a wired connection I think is better. And it cost less than $20.
A remote is necessary. I use the little kidney-shaped keyboard-trackpad remotes you can get online, though they are not fun. If you have the space, the Logitech remote keyboard and trackpad is far better and about the same price. I wish it were a third smaller.
Time now to add the software that makes it a television. Many people like — I do not — the Kodi media player, which properly set up might well be all you need, because it integrates subscriptions, free streams, and other streaming and local media. It is a bear to configure and the online help is lacking, coming as it does largely from people who are bragging about the signals they have stolen. It is the favorite hangout of those who engage in piracy, which can be a very expensive practice. Kodi itself is free, and Argon 40 even makes a remote control for it. Just take care where you get your shows.
My choice is a combination of browser and an application called IPTVnator. Go to its page and scroll down to learn about it. I spend probably 90 percent of my viewing time on IPTVnator. By adding the Free-TV playlist, I got listings for thousands of stations around the world, including hundreds from the U.S. It’s a simple matter to use the search function to find stations of interest. Clicking on the star that signifies “favorites” renders a manageable playlist. When you have a station you want to watch, clicking on it “tunes” it in; double-click on the window and it becomes full screen, often in higher quality than cable will bring you.
The browser is useful because subscription channels aren’t, obviously, on Free-TV’s list. Close IPTVnator and open the browser. Navigate to your subscription services and bookmark each of them, to create a playlist there. When you want to watch one of them, go to it in the browser and click the little box in the lower right of the streaming program and it becomes full screen. Easy.
The television, if you’ve plugged your television-computer into an actual TV, might still be phoning home with information about you. The solution is to take away its internet privileges. Go to the appropriate setting and delete the information about your home network. The television might complain. Enjoy its anguish — it’s been spying on you and deserves no sympathy.
If you have a good VPN — and you should — you can add it to your new home-made television. Remember, this is a computer and does computer things. This reduces the amount of spying the stations you’re watching can do, because they do not know who or where you are. It also lets you take advantage of your VPN’s ability to seem to be someplace else. So if you want to watch an overseas station but it is “geoblocked” — local only — you can open the VPN app and set your connection to emerge in that country. Chances are that you can now watch it.

Because your new TV is a computer, you can also use it for computer things, such as email, and other “social media.” Just install them and run them like normal, now on a bigger screen. I know people who have the football game in one window and TwitteX in another, so they can comment on a game underway. (I advise staying away from such people on weekends, but your mileage may vary.) Even productivity applications such as LibreOffice run perfectly, so if you want to write a letter while watching television you can. All in a gadget about four by four inches and an inch and a half thick.
Chances are you’ll take an interest in your home-made television and explore the possibilities, which are vast.
It does take a little getting used to, but once you have you’ll find ordinary television very limiting. And you’ll have taken a step toward protecting your privacy. 

Dennis E. Powell is crackpot-at-large at Open for Business. Powell was a reporter in New York and elsewhere before moving to Ohio, where he has (mostly) recovered. You can reach him at dep@drippingwithirony.com.
Pass along this article.
Never Miss Another Article from Dennis E. Powell.
You need to be logged in if you wish to comment on this article. Sign in or sign up here.


Start the Conversation